Prerequisites
- A Notion account with AI features enabled
- A CoinGecko API key (required for authenticated access, Notion does not support non-authenticated MCP)
Overview
Notion’s AI Agents support custom MCP (Model Context Protocol) connections, allowing you to extend your agent with real-time external data. By connecting the CoinGecko MCP server, your Notion agent gains access to:- Real-time prices for 15,000+ cryptocurrencies across 1,000+ exchanges
- Onchain analytics from GeckoTerminal — 8M+ tokens across 200+ networks
- Market trends — trending coins, top gainers/losers, new listings
- Historical data — OHLCV, price charts, and market history
- Rich metadata — project descriptions, contract addresses, social links, and more
Which MCP Server Should You Use?
| Server | URL | Auth | Best For |
|---|---|---|---|
| Pro (Authenticated) | https://mcp.pro-api.coingecko.com/mcp | OAuth (API Key) | Production agents, higher rate limits, 76+ tools |
Step 1 — Create Your Notion AI Agent
- Open Notion and navigate to AI Agents (or click + New agent from the sidebar).
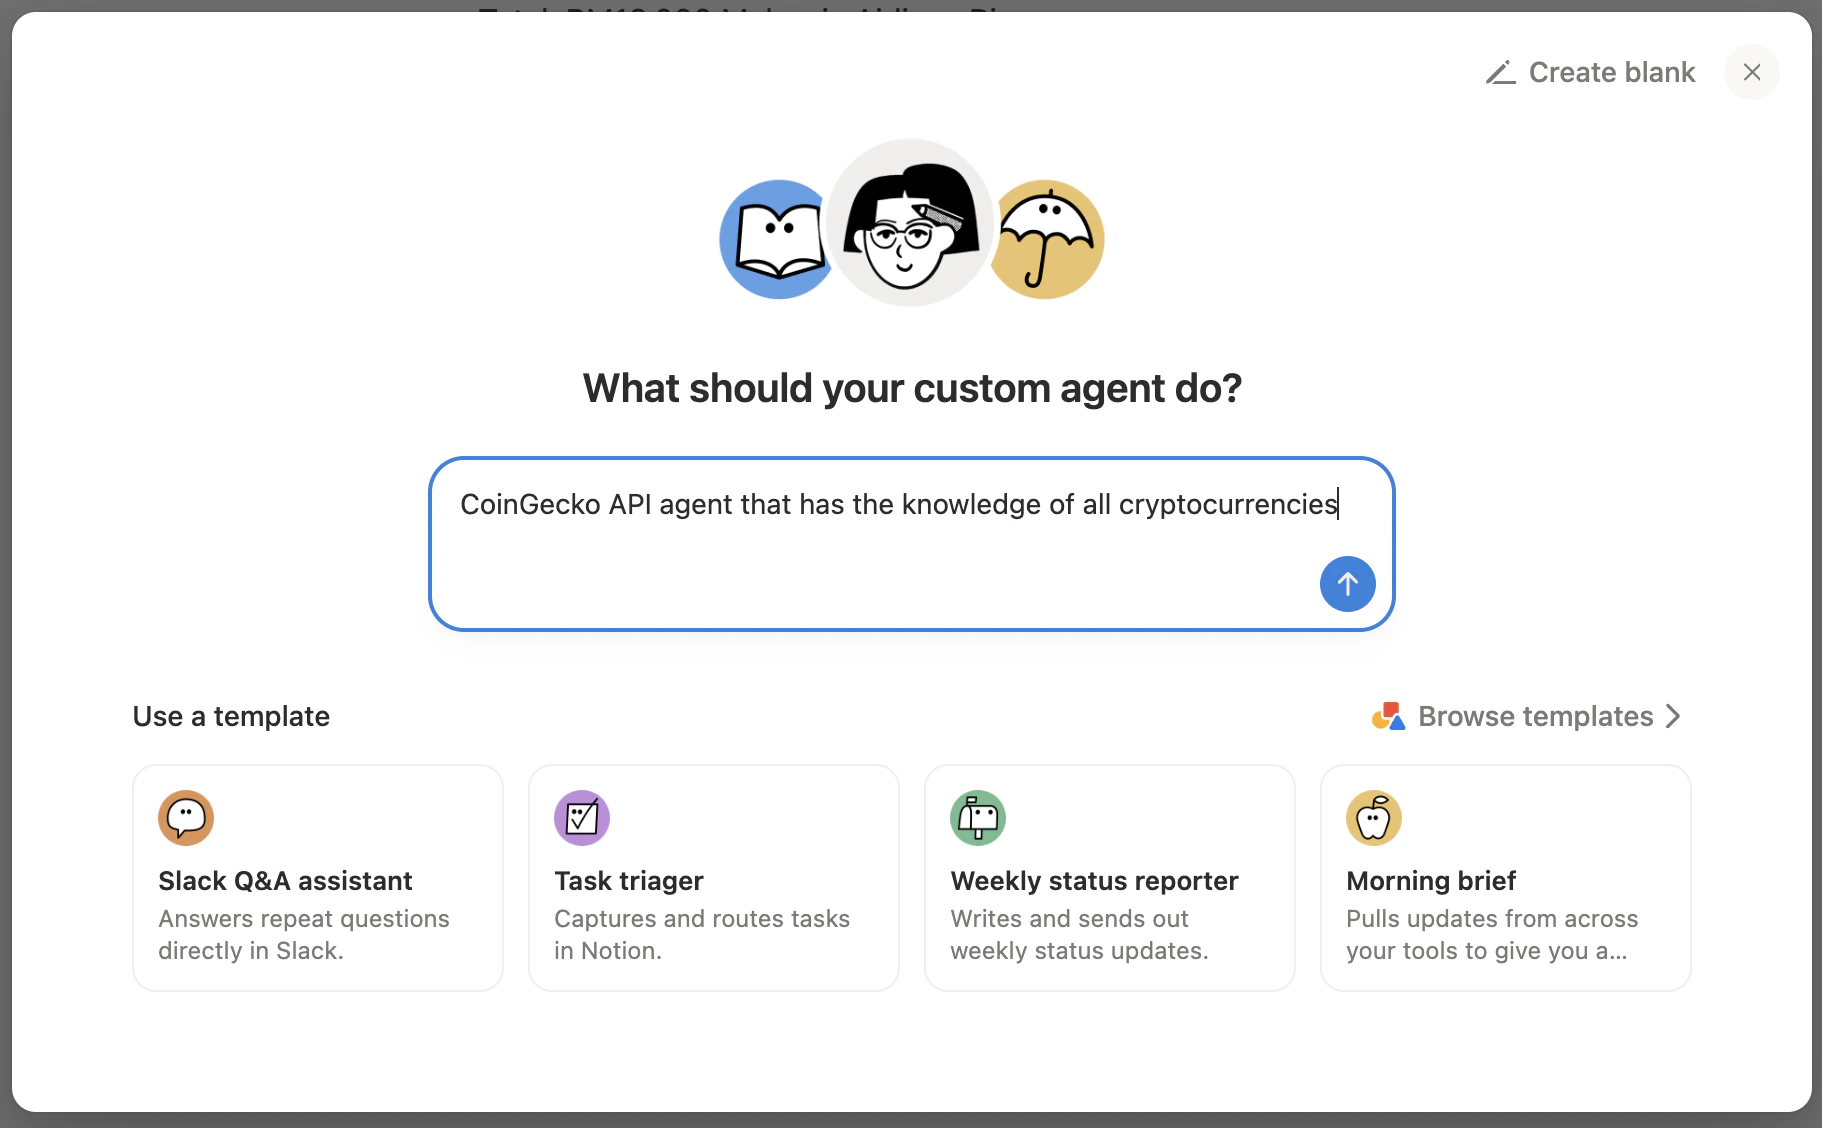
- In the agent creation dialog, describe what your agent should do.
Suggested prompt:
CoinGecko API agent that has the knowledge of all cryptocurrencies - Click the arrow to submit and continue to the agent configuration screen.
Step 2 — Add the CoinGecko MCP Connection
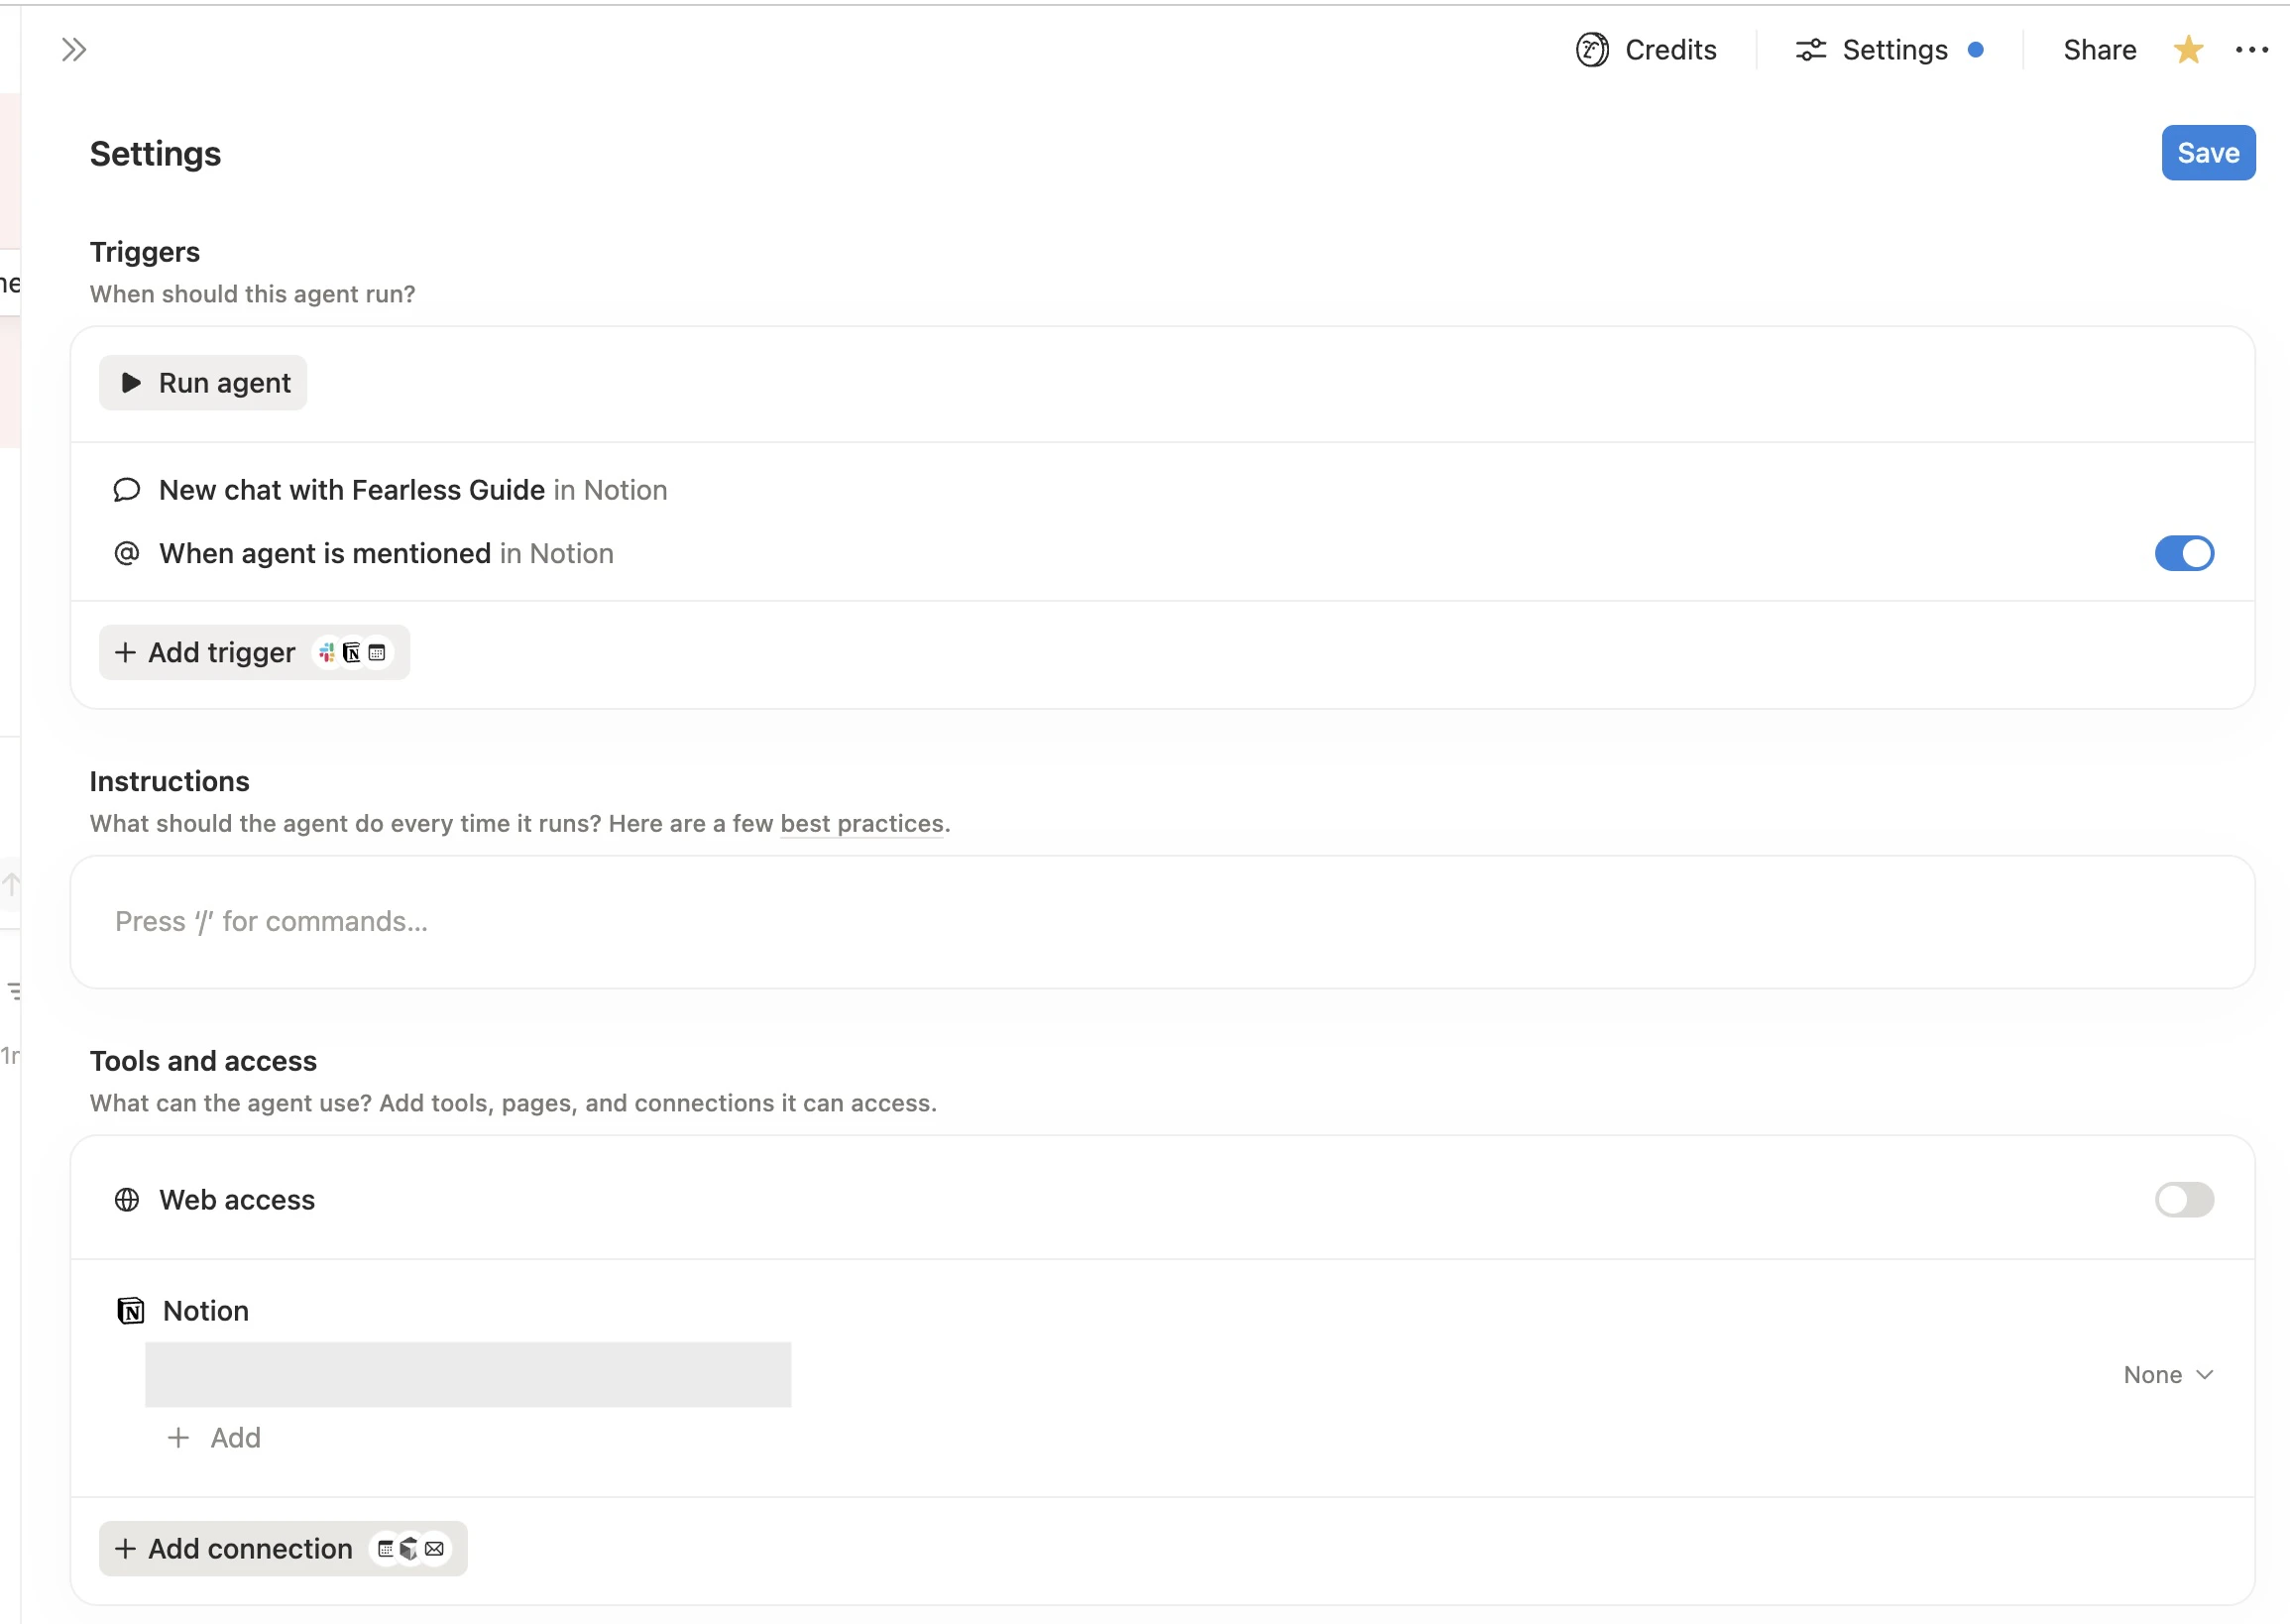
- Inside your agent’s settings, click Add connection.
- In the connection panel that opens, scroll to the bottom of the left sidebar and click + Add custom MCP.
The right panel will show a Custom MCP server form with an empty URL field.
Step 3 — Configure the MCP Server
Requires a CoinGecko API key. Get your key at coingecko.com/en/api/pricing.\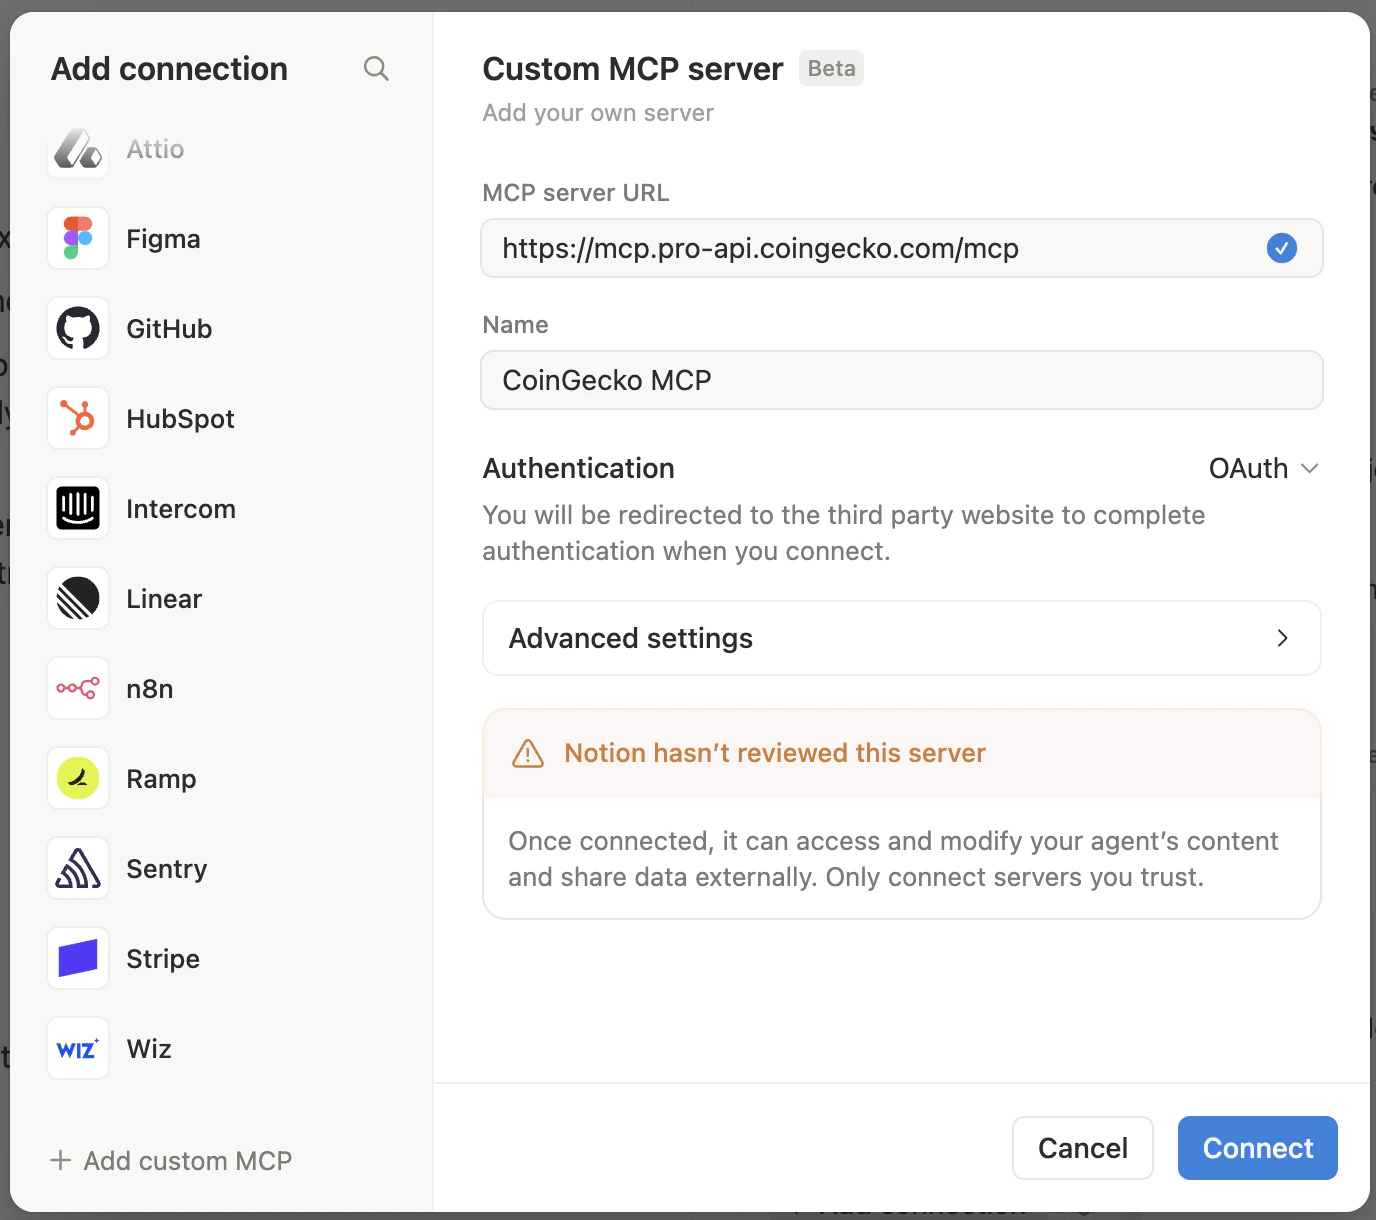
| Field | Value |
|---|---|
| MCP server URL | https://mcp.pro-api.coingecko.com/mcp |
| Name | CoinGecko MCP |
| Authentication | OAuth |
Notion will display a warning: “Notion hasn’t reviewed this server.” This is expected for all custom MCP servers — the CoinGecko MCP is safe to connect.Click Connect.
Step 4 — Authorize with Your CoinGecko API Key (Pro Only)
After clicking Connect on the Pro server, a browser tab will open atmcp.pro-api.coingecko.com/authorize.
- Paste your Pro API Key into the field.
- Click Log in and Approve.
Don’t have a Pro key yet? You can also use a Demo key. See the API Key Differences section below.
Step 5 — Start Using Your Agent
Your Notion AI agent is now connected to live CoinGecko data. Try these example prompts:Simple Queries
- What is the current price of Bitcoin in USD?
- What is the market cap of Ethereum?
- What are the top 3 trending coins on CoinGecko right now?
Advanced Queries
- Show me the top 10 cryptocurrencies by market cap with price, 24h change, and volume in a table.
- Generate a 30-day price chart for Solana against USD.
- What are the top AI-related coins on GeckoTerminal right now?
Notion-Specific Workflows
- Research the top 5 DeFi coins and save a summary to this page.
- Pull today’s trending coins and add them as a database entry.
- Compare Bitcoin and Ethereum’s performance this week and draft a report.
Troubleshooting
The Connect button stays greyed out Make sure the MCP server URL begins withhttps:// and is a complete, valid URL.
“Notion hasn’t reviewed this server” warning This appears for all custom MCP connections and is not an error. It is safe to proceed with the CoinGecko MCP.
Authorization page doesn’t open Check that your browser isn’t blocking popups from Notion. Allow popups and retry.
Agent returns no crypto data Confirm the MCP connection is active in your agent’s connection settings. If using the Pro server, re-authorize if your session has expired.